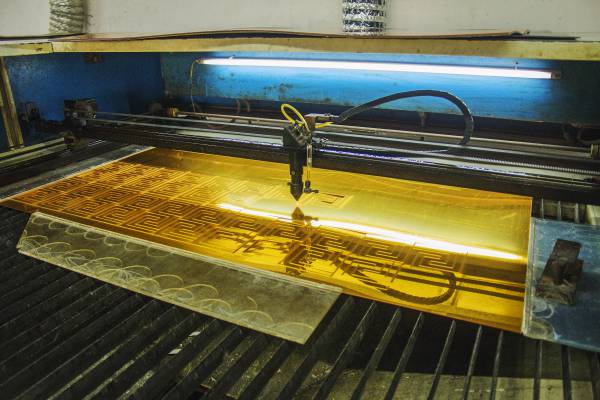
Gold acrylic mirror is a versatile material that can add a touch of elegance and luxury to any space. Whether you plan to use it for DIY projects, home decor, or any other creative endeavor, knowing how to cut gold mirror acrylic is crucial. In this article, we'll guide you through the steps to successfully cut this material and create stunning pieces.
Before we get into the process, let’s talk about gold acrylic mirrors. It is a lightweight and shatterproof alternative to traditional glass mirrors. The gold color of acrylic surfaces adds a charming and sophisticated look to any project, making it a popular choice for interior design and craftsmanship.
Now, we continue with the cutting steps of gold mirror acrylic:
1. Gather materials-
To successfully cut a gold acrylic mirror, you will need specific tools and materials. These tools include a tape measure, a ruler, a pencil or marker, a table saw, a fine-tooth blade suitable for cutting plastic, safety glasses, and gloves. Making sure you have all the necessary tools will make the cutting process go smoother.
2. Measure and mark your desired dimensions -
Use a tape measure and ruler to measure the dimensions of your desired gold acrylic mirror piece. Make sure to mark the cut lines accurately with a pencil or marker that is visible on the surface of the mirror. Check your measurements carefully to avoid any mistakes.
3. Setting up the table saw-
Securely attach a fine-tooth blade suitable for cutting plastic materials to the table saw. Make sure the blade height is slightly higher than the thickness of the gold mirror acrylic to achieve the cleanest cut possible. Also, adjust the table saw's fence to guide the material properly.
4. Cut golden acrylic mirror-
Wear safety goggles and gloves to protect yourself from any potential injury. Carefully align the marked cut lines with the fence of the table saw. Gently push the gold mirrored acrylic across the blade with a steady and controlled motion. Take your time and let the saw do the work, avoiding any sudden movements. This results in a smooth and precise cut.
5. Finishing work—
After cutting the gold acrylic mirror, check for any rough edges. If you have one, smooth it down with sandpaper or a file. Please be careful not to damage the surface of the acrylic mirror when doing this. It is also recommended to clean the finished product with a mild soap and water solution to remove dust or debris.
Remember, practice makes perfect. It may take a few attempts to easily cut a gold acrylic mirror, so don't be discouraged if your first few cuts aren't perfect. Taking the time and diligently following these steps will help you achieve extraordinary results.
Post time: Nov-28-2023